SSI WILL VERY SOON HAVE ITS OWN RECORDING TOOL! JUST DO THE TASKS UP TO THE POINT OF RECORDING, THEN SKIP THAT UNTIL OUR TOOL IS READY
Set up a Clyp.it account
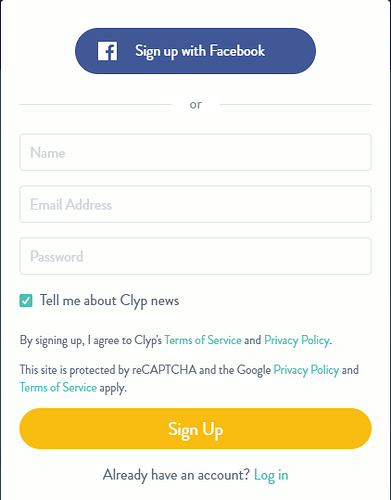
Go to clyp.it and click on ‘Sign up’
You may need to verify your email address before you do anything else, by clicking on a link in an email sent to you.
Record your Voice
The next step is to click on ‘Upload a Clip’.

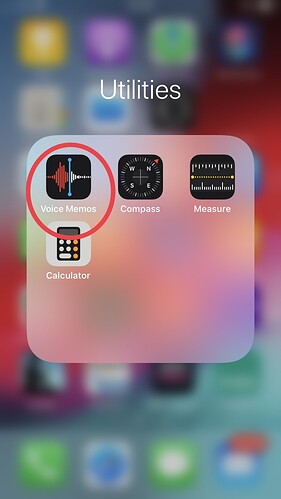
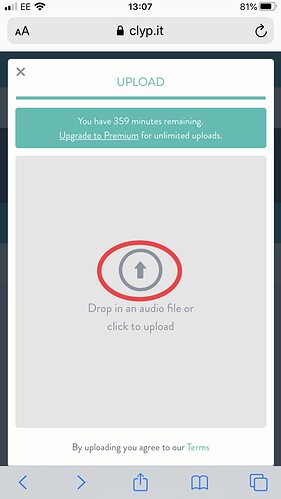
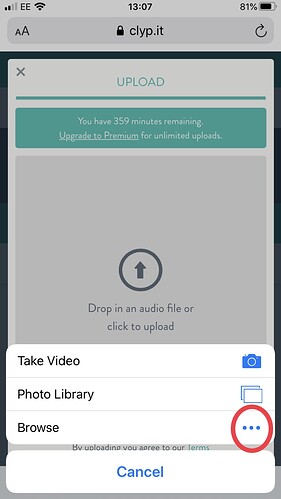
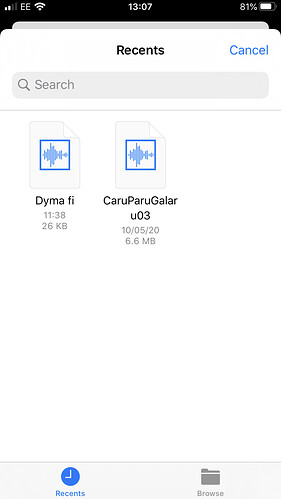
This gives you the choice of uploading a voice file that you’ve created using a different voice recorder and saved somewhere, or recording directly here in Clyp.it
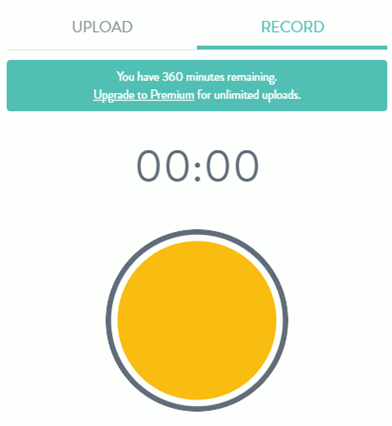
This is what you get when you select the ‘Record’ tab:
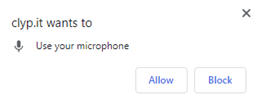
To record your voice, click on the big yellow button. You will initially have to give Clyp.it permission to use your microphone:
The yellow circle changes to a square while you record, and you click on that when you’re finished. It will show you the screen below with the number indicating the length of your sound file, and giving you the choice of discarding it or uploading it.
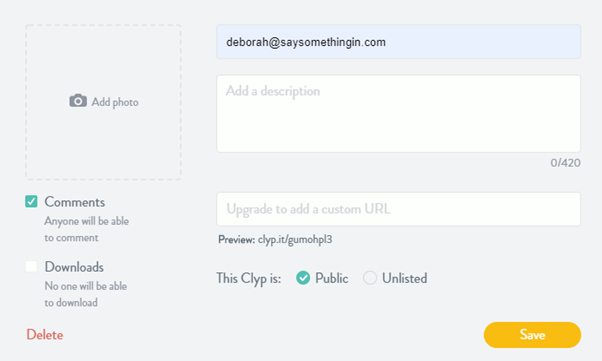
Click on ‘Upload’ and wait for it to finish. You’ll then see a screen where you can add details about your file:
You can leave the file as ‘Public’ or make it ‘Unlisted’ which means that people can’t just find it by searching randomly, but SSiWers can click on the link you post on the forum and listen there.
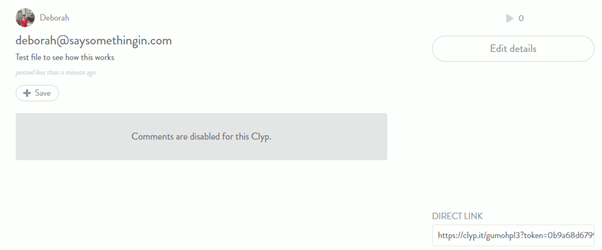
After clicking on ‘Save’ you will see:
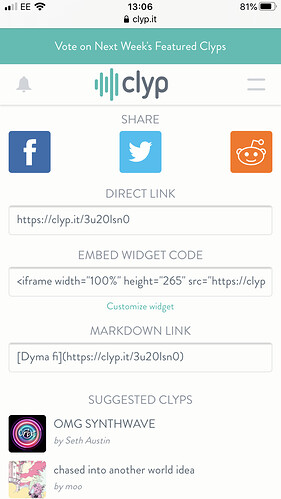
The URL address in the box ‘DIRECT LINK’ is what you then copy and paste into the relevant place in the forum – according to which task you’re doing.
If you’d like a copy of these instructions, just download here Using Clyp-it.pdf (493.1 KB)
And you can find out more about recording and uploading at the Clyp-it FAQ

